


To set up a privacy-friendly free VPN we need to have a VPS hosted on a server or if you have a home server you can forward the ports you get while setting up OpenVPN in it but as most isp(internet service providers) uses CGNAT(Carrier-grade NAT) it's hard to get a dedicated public IP address for you from the isp they may charge you extra money for dedicated public IP too. So we can use a VPS which is easy to use and if you take a VPS in a foreign nation you can bypass censorship in your nation too which is something extra than self-hosting in a home server.
With the GitHub education pack you are getting a trial version of AWS, azure, and digital ocean you must have to have a credit card or an international debit card to verify your payment method. here I am going to use the digital ocean in this tutorial you can use your preferred VPS providers.
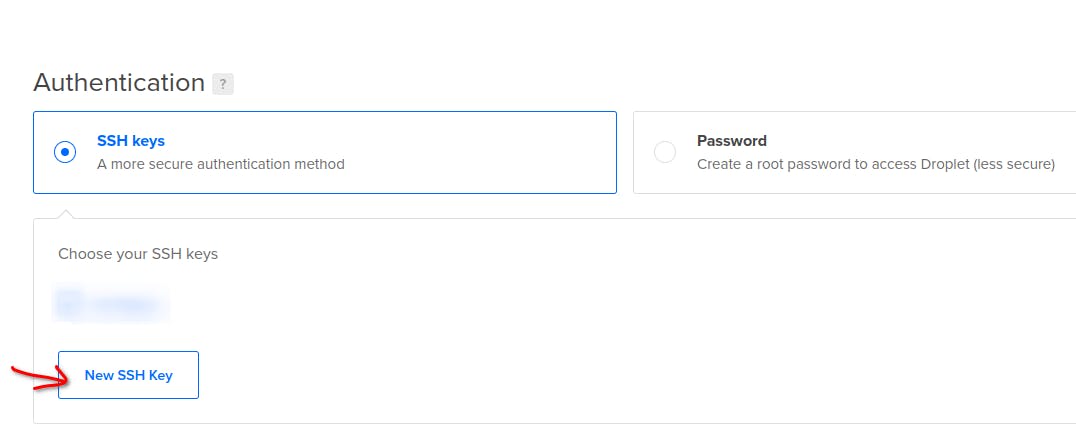
steps of setting up a digital ocean for your privacy and an extra layer of security I suggest you set up a VPS with an ssh key directly don't set it up with a password as hackers can take over your VPS by brute-forcing it.
ssh-keygen -t rsa
Type this command in your terminal to generate a public/private rsa key pair.
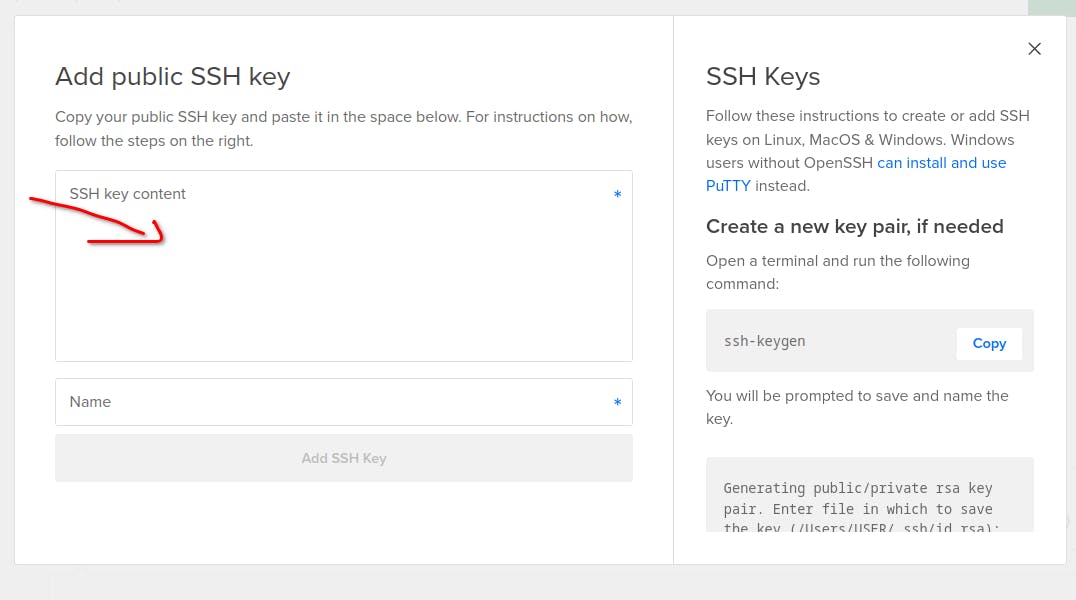
cat .ssh/id_rsa.pub
Type this command to see your public/private rsa key pair. now copy it and paste it here
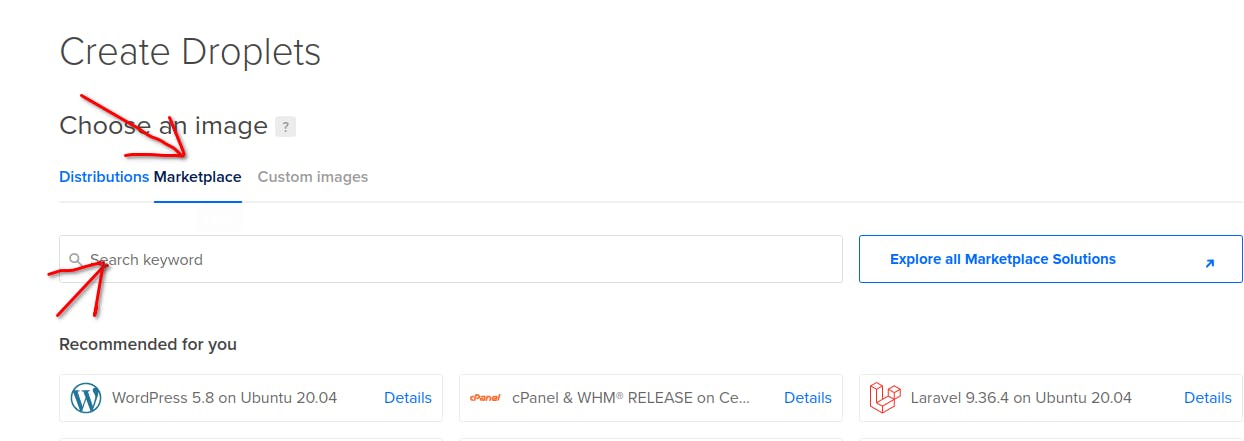
now go to market place and search here "OPENVPN"
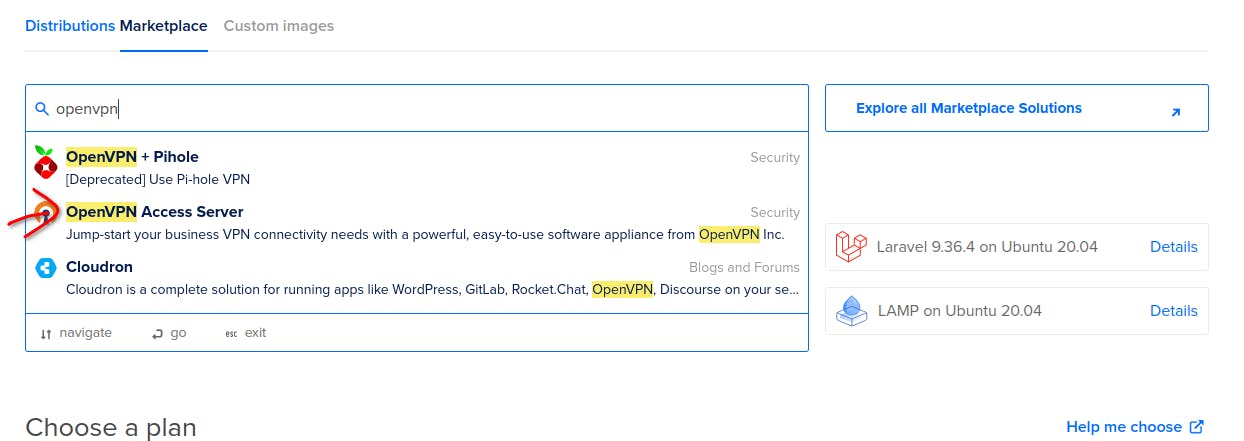
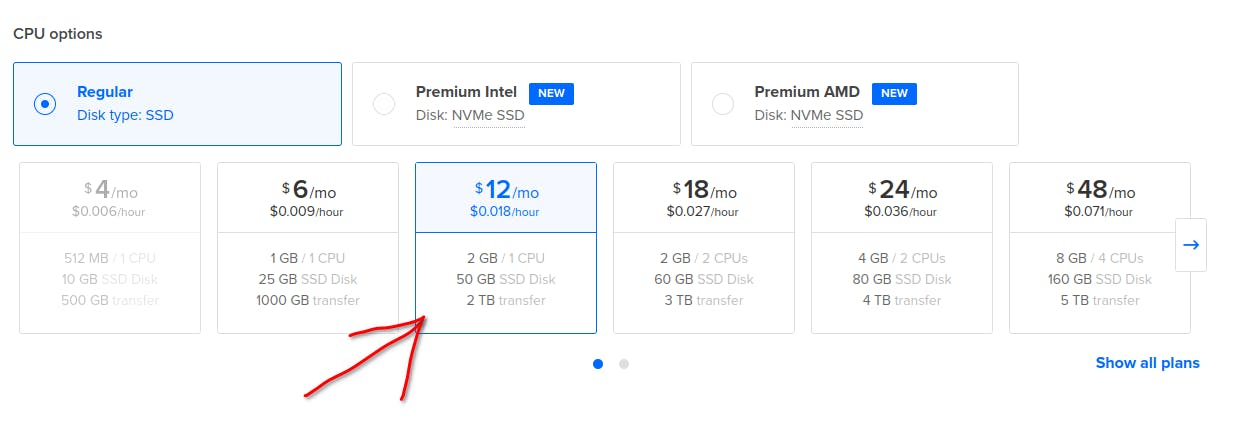
Click here and select a server configuration for you as we are using it as VPN our traffic is going to be a bit high so we are choosing this with a high bandwidth(2TB)
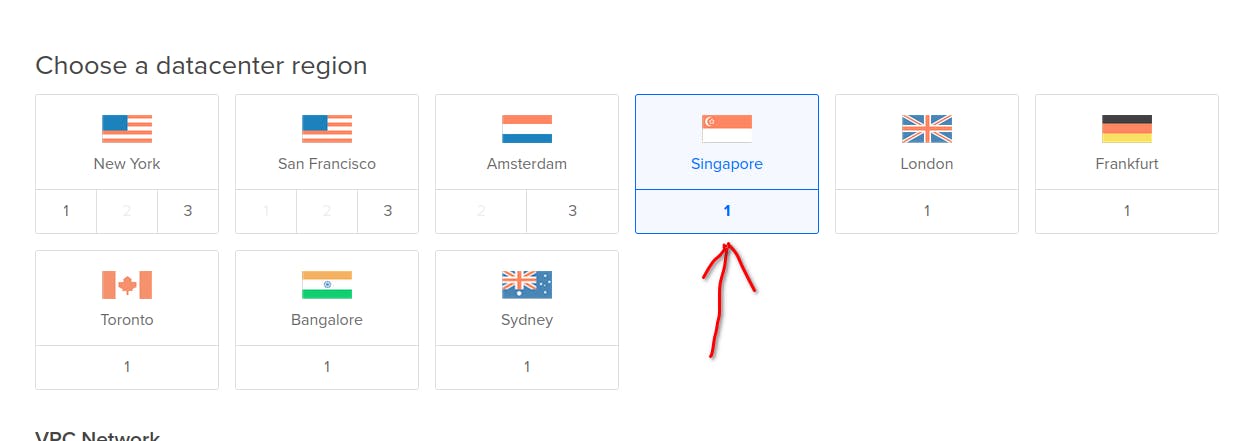
choose your preferred location from here
Now we are all done and create your customised VPS by clicking here

Now you have to wait for some minutes to let your VPS provider here digital ocean create a VPS for you after everything done, go and log into your VPS with ssh like this
ssh root@<ipv4 address>
you will automatically get some prompt there create an OpenVPN user from there and set up a password for it after everything is done go to your browser and search
<ipv4 address>/admin
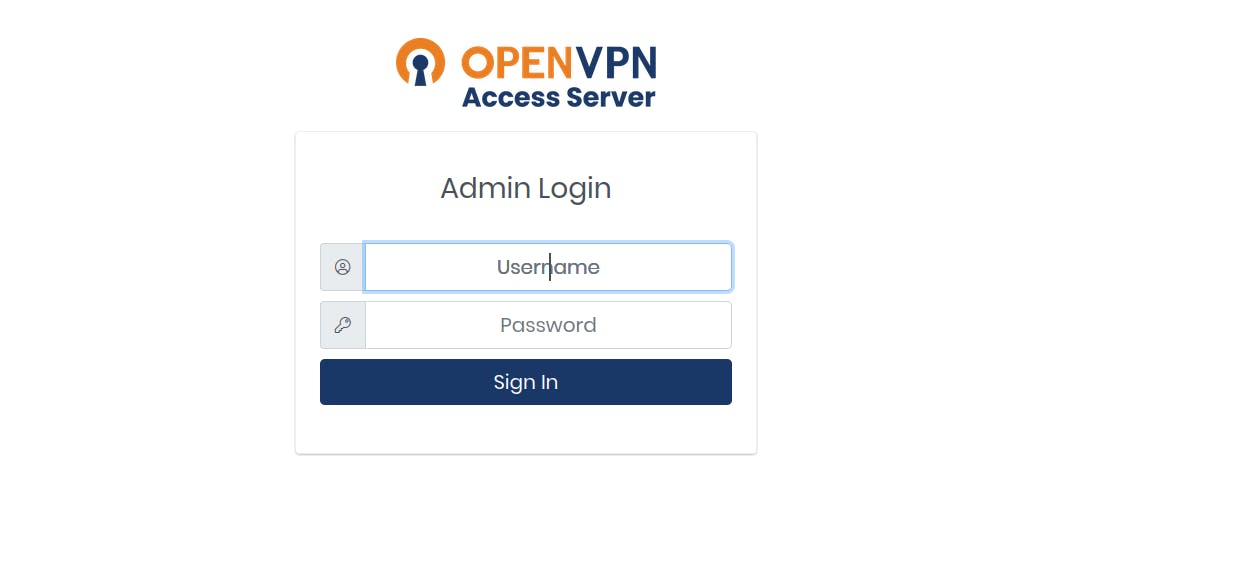
and log in there and configure your VPN according to you now log out from there and open your ipv4 address from there
<ipv4 address>
now just log in and download your preferred client here everything will be pre-configured according to your server
just download your client and enter your password in the app which you have generated during setup now you are all done if you already have the OpenVPN app on your phone or laptop you can simply download the profile file from here and import it into the OpenVPN app that's it.
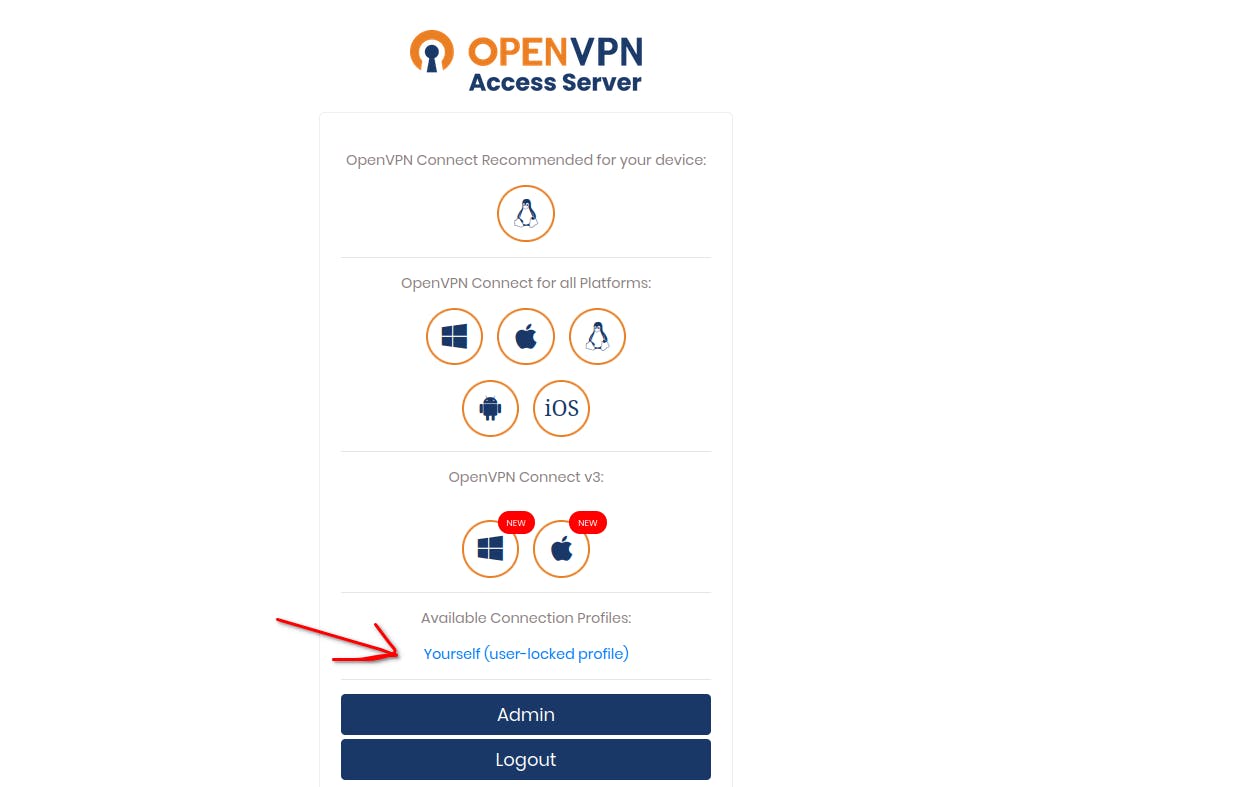
here is how you are going to download your profile only.
In the end, using the VPN of a corporation is a risk to your privacy as they can monitor or sell your queries if they want to do so. but by this method, you own the entire infrastructure and everything is under your control means you own all your data. If you love this article make sure to get a $200 coupon for the digital ocean from my link below to show some support for getting great blogs like this.

Hope this blog helped you.
Happy coding :)
Want to support my work

